
Let’s Do It Yourself
DIY・ハンドメイドのアイデア共有!!
きちんとカバーできる枕カバー
| カテゴリー: | ハンドメイド/リメイク/手芸 |
|---|---|
| 制 作 費 用: | ¥ |
| 完成サイズ: | W×D×H(mm) |
ファスナーなしでもきちんとしまえる枕カバー☆
小さなポッケみたいなのがあるので中身が出てこない!
お気に入りのカバーでおうち時間を楽しもう♪

- step1

まずは枕のサイズを測ってみよう!
縦が50cm横は70cmでした。
- step2

お好みの布2枚用意します。
サイズは
90cm×54cm
73cm×54cm
- step3
布の右側をこのように裏側に向かって
1cmアイロンで折り、さらにもう一回
1cm折ります。
- step4

布端から2〜3mmのところを縫います。
- step5

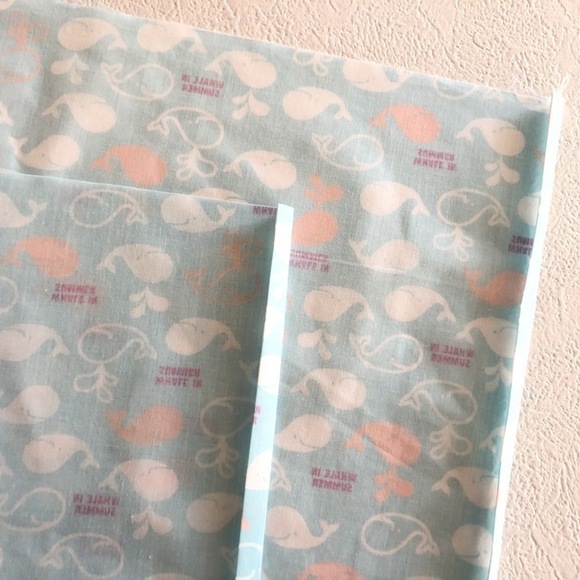
2枚とも縫い終えたところ。
- step6

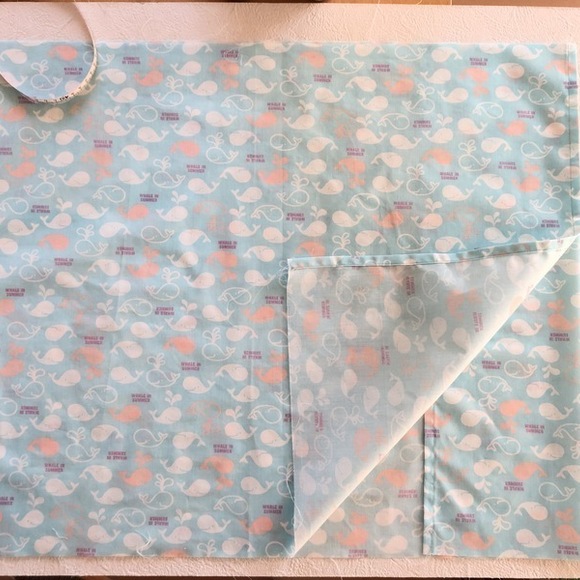
中表に合わせます。
左側の縫っていない方の布端を合わせます。
布のサイズが違うので右側は布がはみ出ていると思います。
左の布を合わせたところを布端から1cmをぬって布端をジグザクミシンもしくはロックミシンんをかけます。
- step7

こんな感じになりました。
- step8

アイロンで縫い代を片側に倒します。
- step9

表に返してアイロンで整えます。
- step10
このようにはみ出てる部分15cmほどをこのように中に織り込みます。
- step11
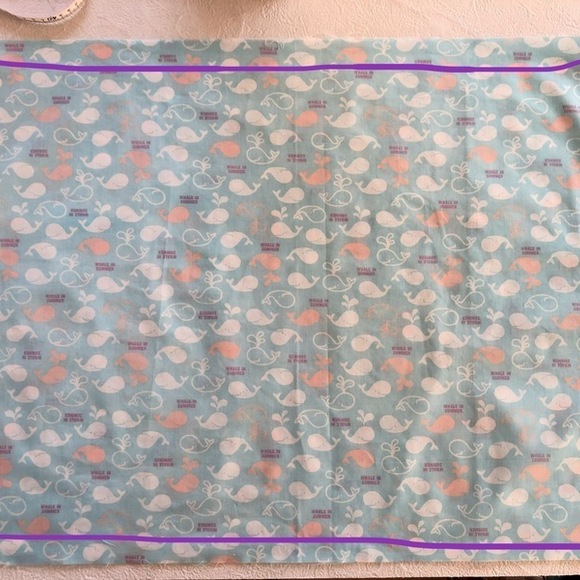
表側からこのように紫の線(布端から8mm〜
1cm)を縫います。
上と下をまっすぐ縫う!
- step12

5mmほどカットします。
- step13
裏返します〜
- step14

さらに裏側から紫の線(布端から8mm〜1cm)
を縫います。
アイロンで整えてから縫うと縫やすいです。
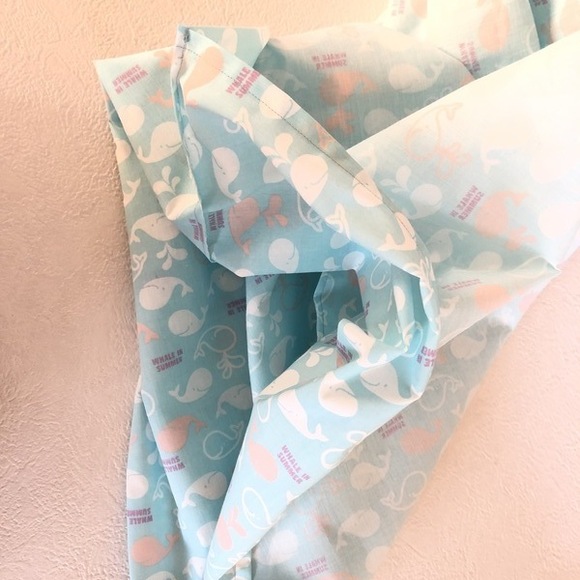
- step15

角もこのように織り込んで・・・
- step16

布端から8mm〜1cmを縫っていきます。
この時さっき縫った縫い代の幅の外側を縫うイメージ。縫い代の幅より内側になると縫い代が表に出てくるのでご注意を☆
さっき5mmカットしたので
布端から8mm〜1cmを縫えば大丈夫!
- step17

こんな感じで縫えました。
- step18

表に返します。
- step19

表はこんな感じ。
- step20

枕を入れてみよう!
- step21

一回全部いれてみます。
- step22

小さなポケットみたいなところに枕を入れ込みます。
- step23

手前の布を整えるとこんな感じに。
- step24

完成!!


