Let’s Do It Yourself
DIY・ハンドメイドのアイデア共有!!

- step1

ここまでは他のアイデアに載せています。
結束バンドであっという間に作れます。
- step2

材料はセリアのワイヤーラティスワイド。
- step3

今回は、蓋を作ります。
- step4
材料は
木板45×12を3枚
角材1本
- step5
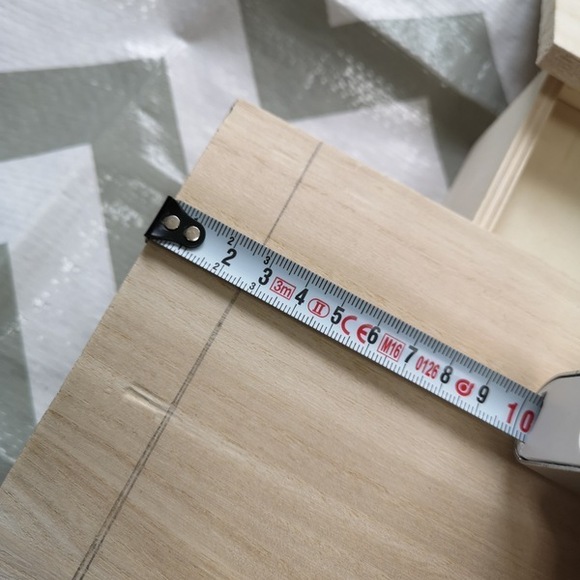
木板を2.7cmでカット。
3枚分。
- step6

角材は35cmでカット。
2本分。
- step7

木板1枚に穴を開けます。
両サイド10cm。
- step8

オイルステインで塗装。
- step9

ボンドで固定。
タッカーでさらに補強もよいです。
- step10

穴を開けた部分に結束バンドを通してバスケットに固定します。
- step11

完成です。